
Wicked Beernut Home - Halloween Home
Most of the pictures on this web page are thumbnails. Each thumbnail is 1/4 size and 1/4 quality of the full image, approximately 3K bytes. Each thumbnail is a hyperlink to a full image that is approximately 42K - 103K bytes.
Inspiration
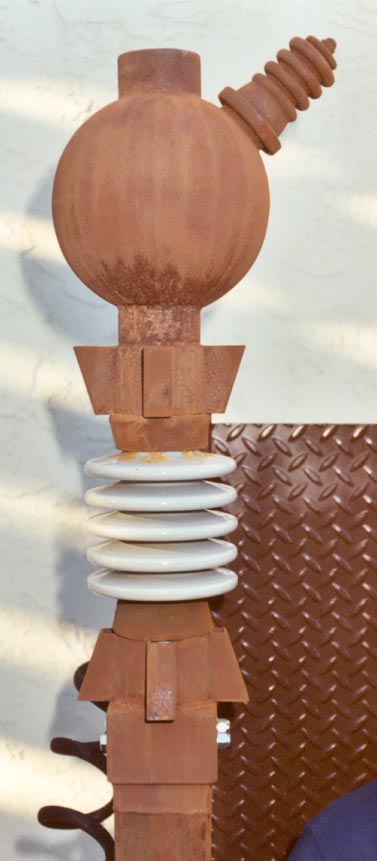
Thrash 'n Burn was based on concepts from Distortions Unlimited. This is a picture of Distortions Unlimited's Shake 'n Bake,
and Frankenstein,

Research
I started out by researching the history of the electric chair,
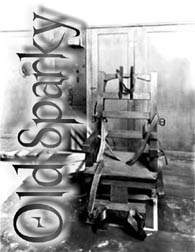
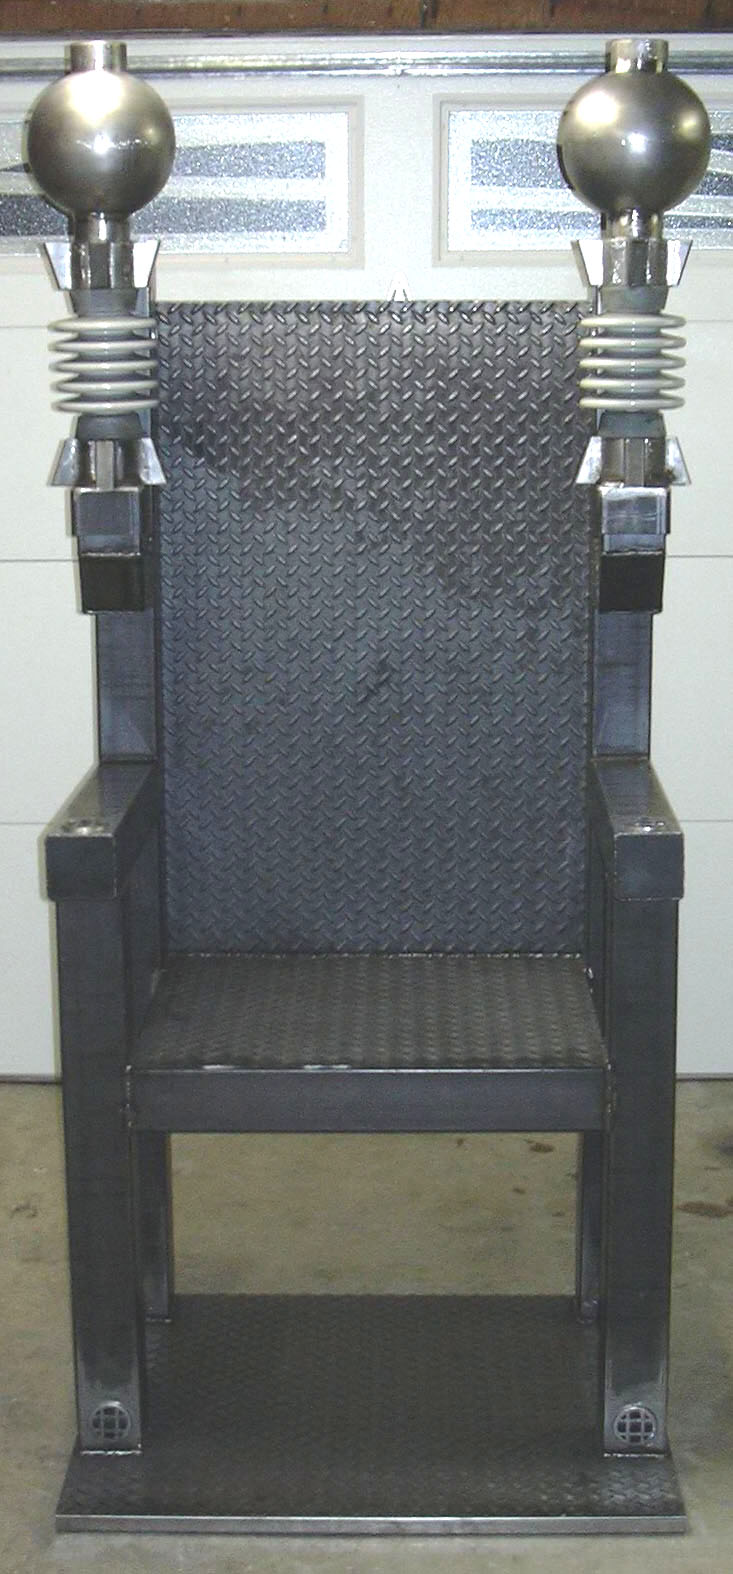
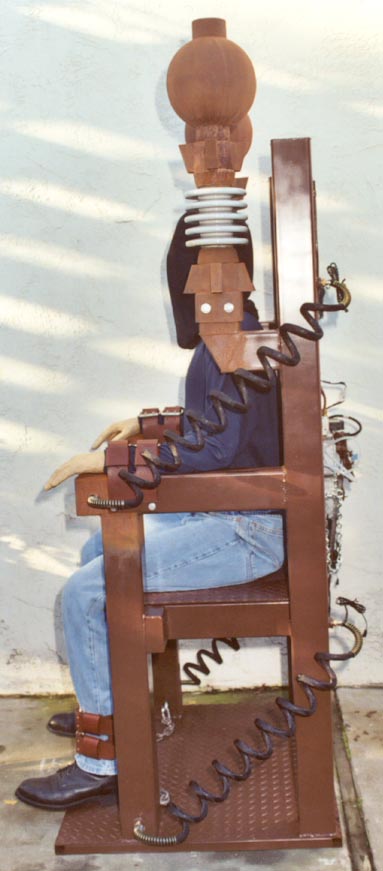
I considered building a replica of an authentic electric chair, however, in the end, I concluded that an authentic electric chair just looked too much like something that you'd have in your living room. I decided to base my design on the Shake 'n Bake.
Chair Construction
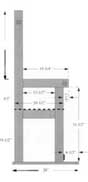
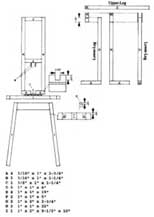
These images are hyperlinks to the electric chair drawings,
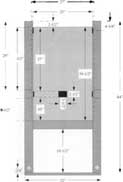 -
-
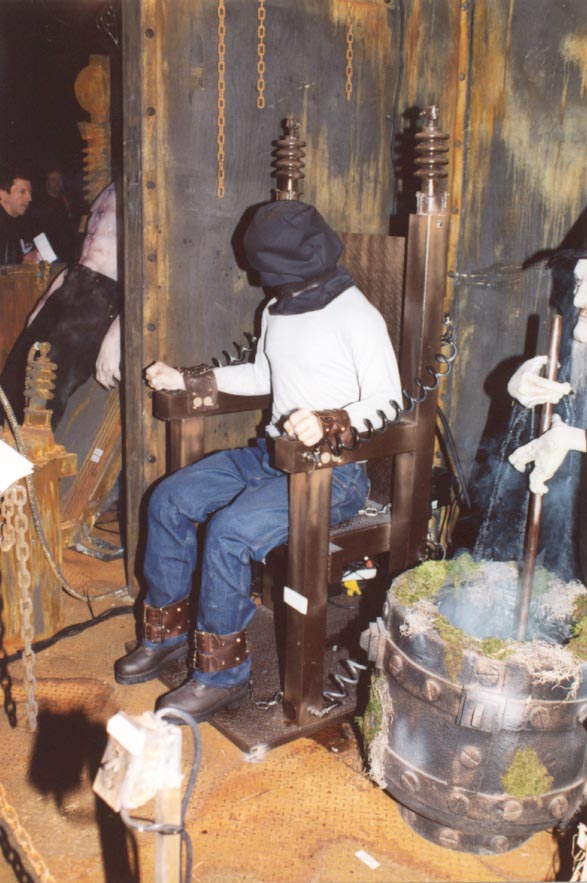
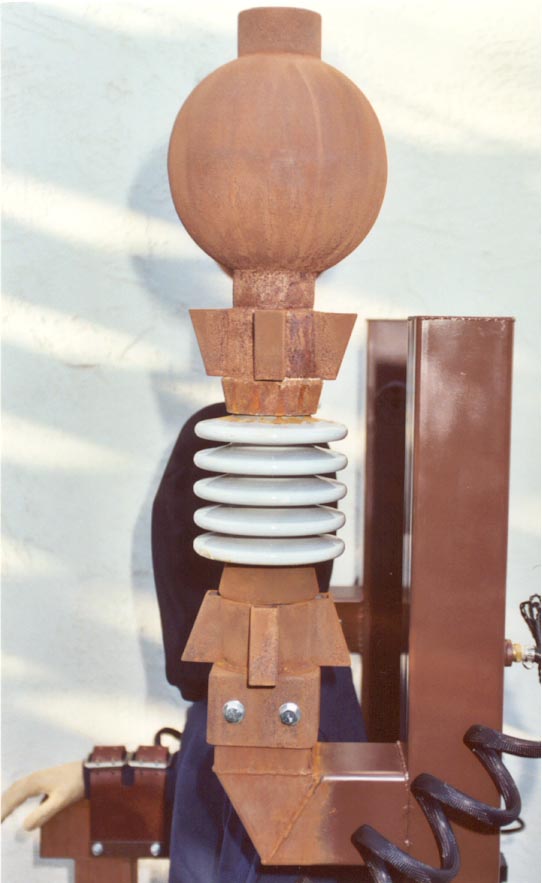
Here is a picture of the unpainted (and unrusted) chair,
Pneumatic Armature Construction
This image is a hyperlink to the pneumatic armature drawings,
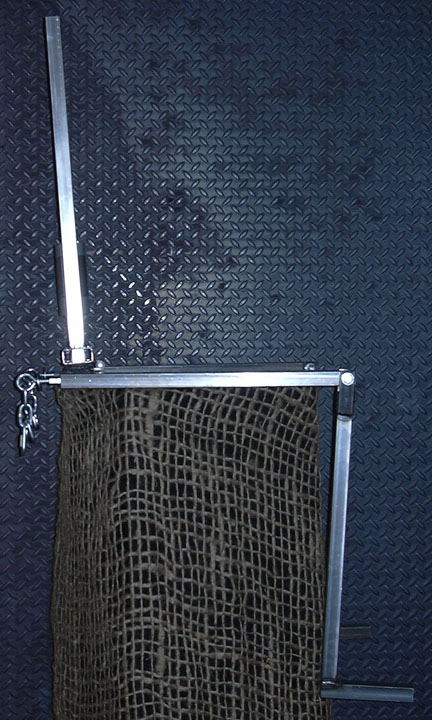
From these pictures, you can see the basic movement of the pneumatic armature. As the 2" bore, 1" stroke air cylinder extends, the upper "body" leans forward. If the microcontroller switches the solenoid valve on and off very quickly, the upper body only leans forward and back a few inches creating a "shaking" effect. The longer the solenoid valve is on, the further forward the upper body leans and the harder the upper body slams back into the chair. The lower legs pivot (dangle) at the knee. As the upper body slams back into the chair, the lower legs and feet pound on the base of the chair.
 -
- -
-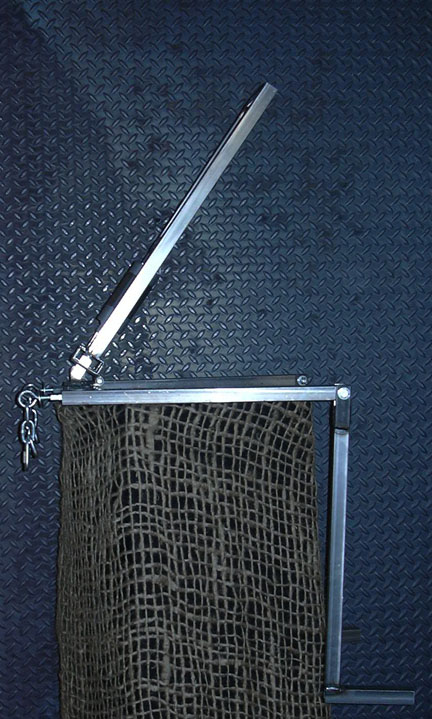
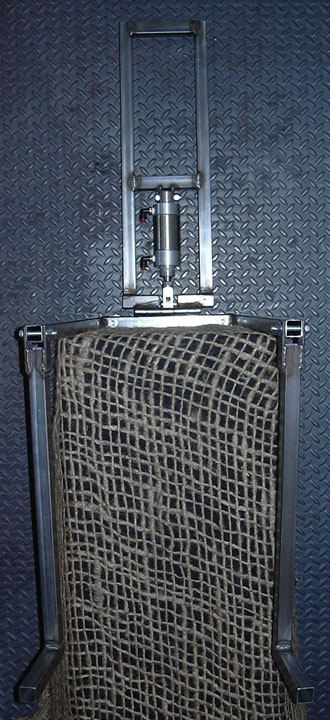
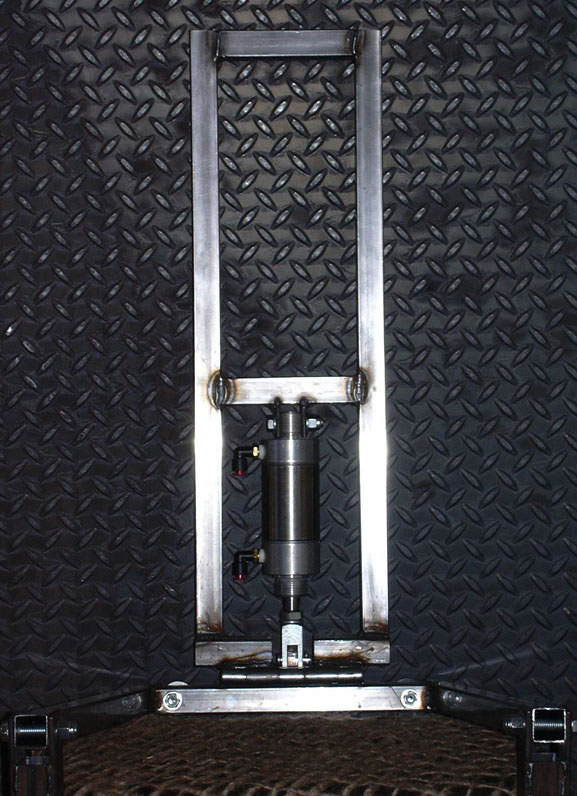
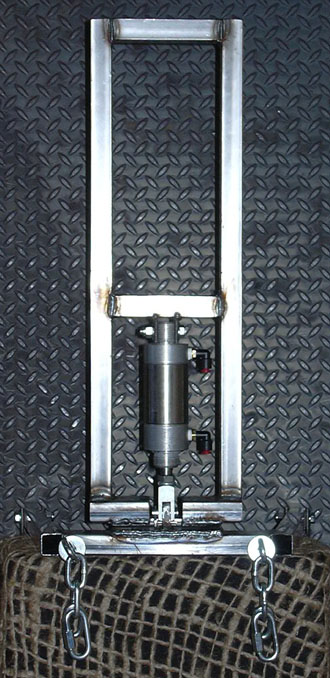
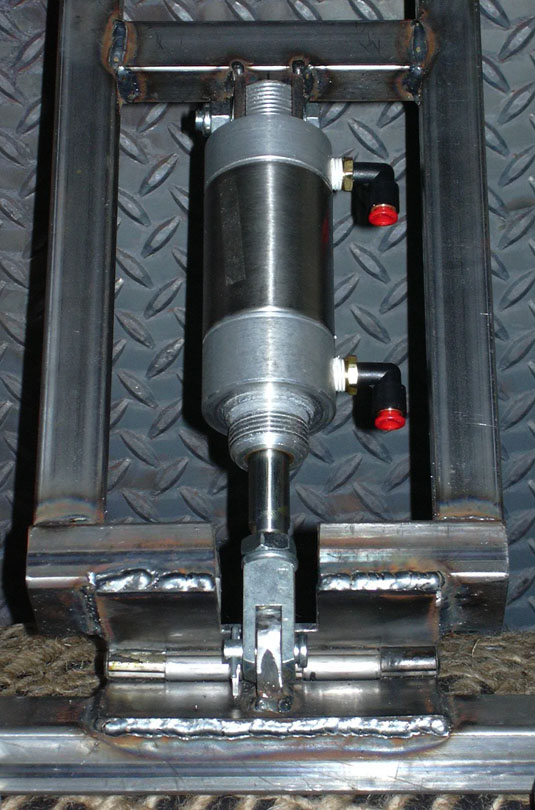
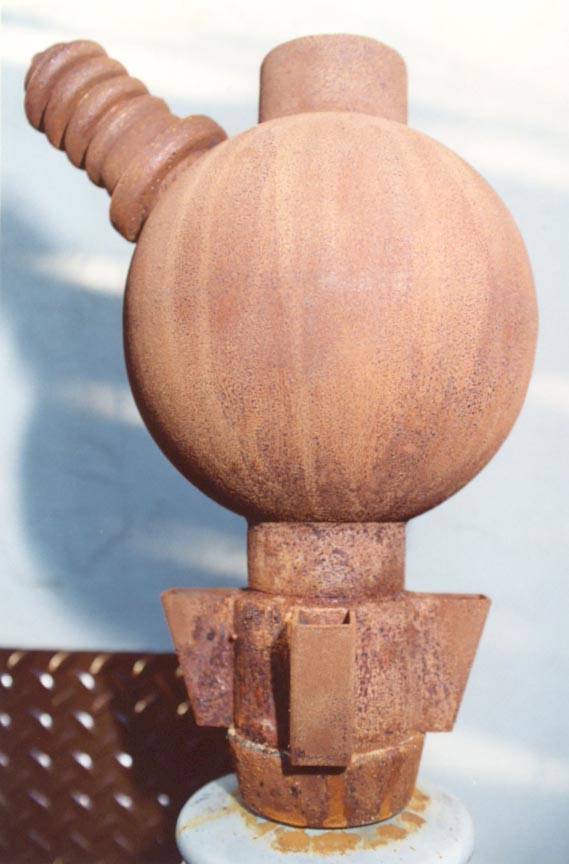
These pictures show the pneumatic assembly in a little more detail. The two pictures on the left were shot from the front. The two pictures on the right were shot from the back. The left- and rightmost pictures are hyperlinks to larger images. From these pictures, you can see the 5" steel door hinge (found at your local hardware store) which allows the upper body to lean. You can see that the center section of the hinge was cut away to accept the air cylinder rod clevis. In the rightmost picture, you can see the position of the hinge with the air cylinder fully extended.
 -
- -
- -
-
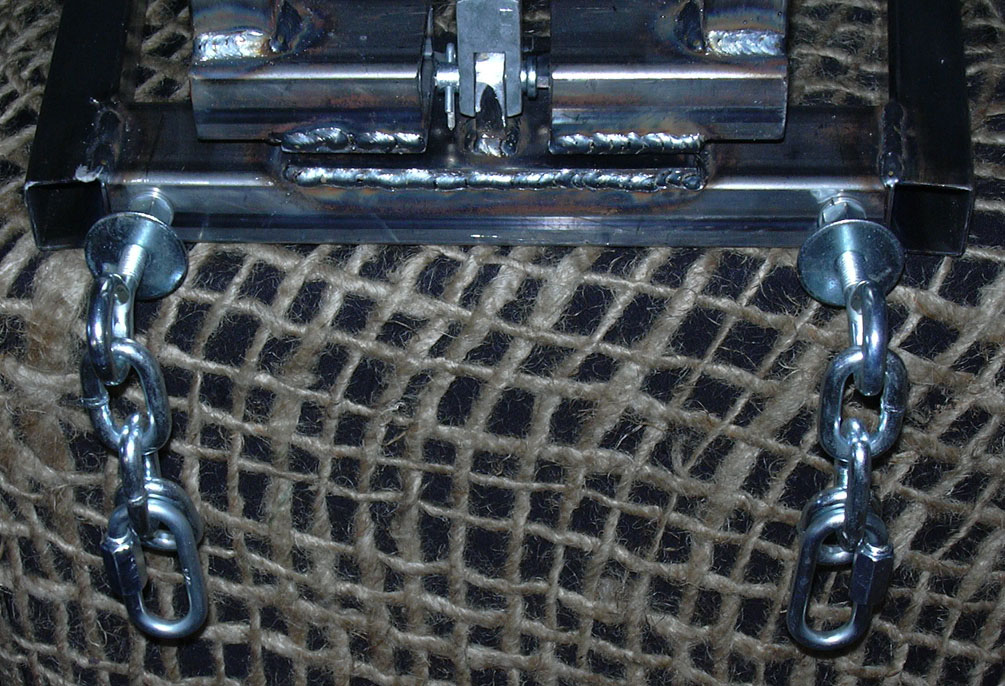
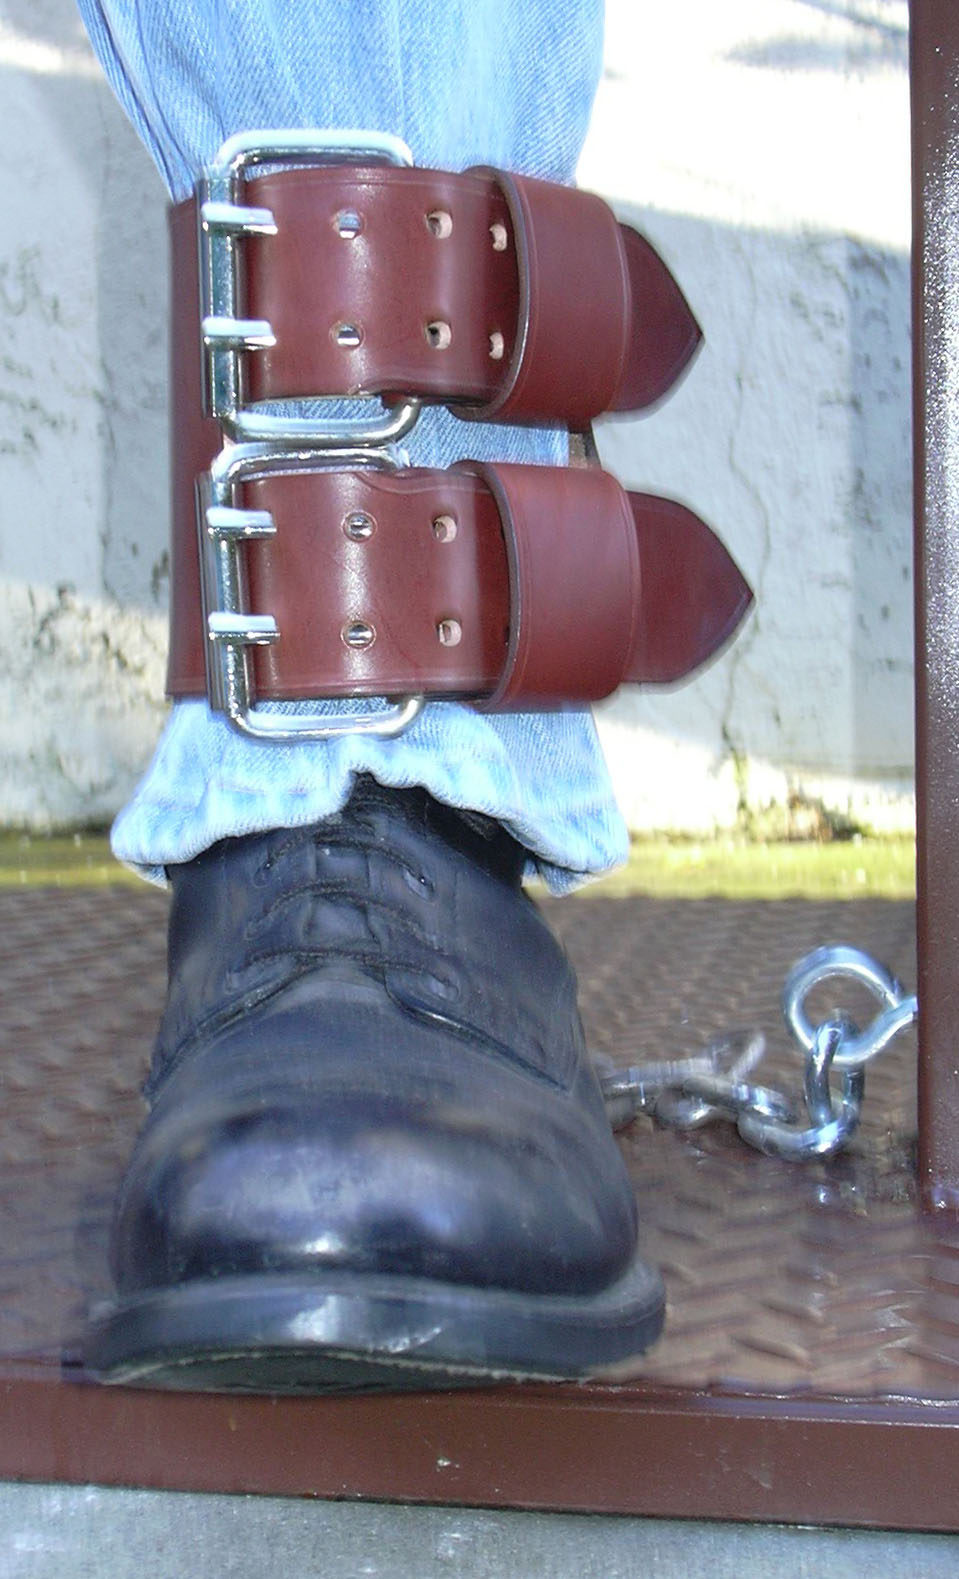
This picture (hyperlink) shows a close-up of the chains that keep the pneumatic assembly and body form from thrashing out of the chair. The eyebolts and washers are inserted through the body form from the back and thread into a 5/16" couple which is in turn secured to the pneumatic assembly with bolts/locknuts. If you look closely, you'll notice that the last link in the chain can be opened/closed. This allows the pneumatic assembly and body form to be easily removed from the chair for storage/maintenance.
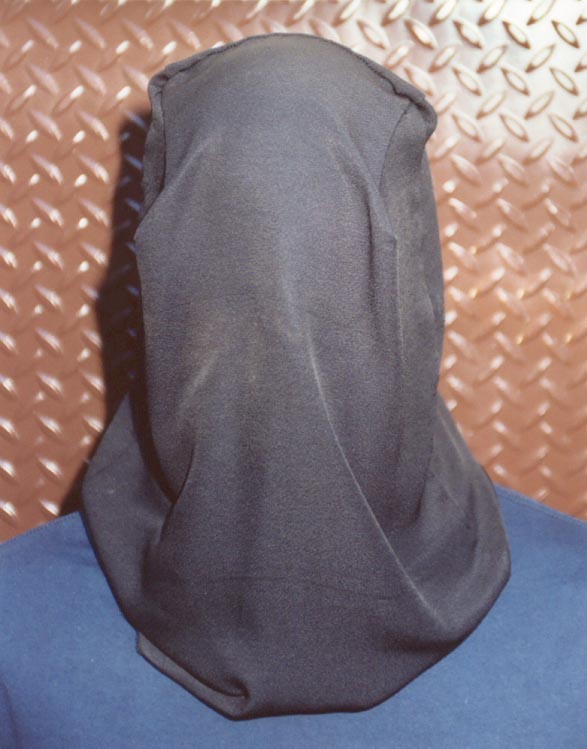
I used a male foam body form from Michael Burnett Productions,
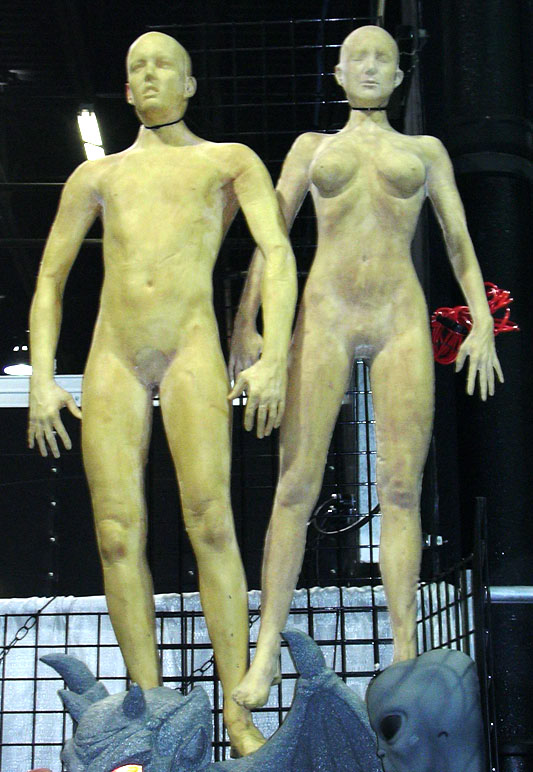
The body form was cut at the waist and knees.
 -
- -
- -
-
 -
- -
- -
- -
- -
-
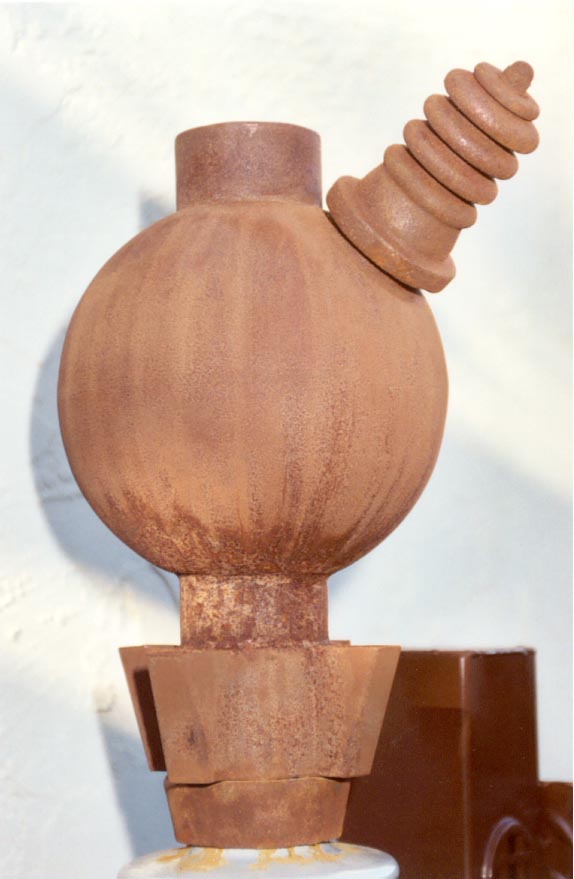
Here is a shot of the chair from the back. The Y-shaped tubes are 1/4" copper tubing which extend the exhaust ports of the solenoid valve to the top of the chair.
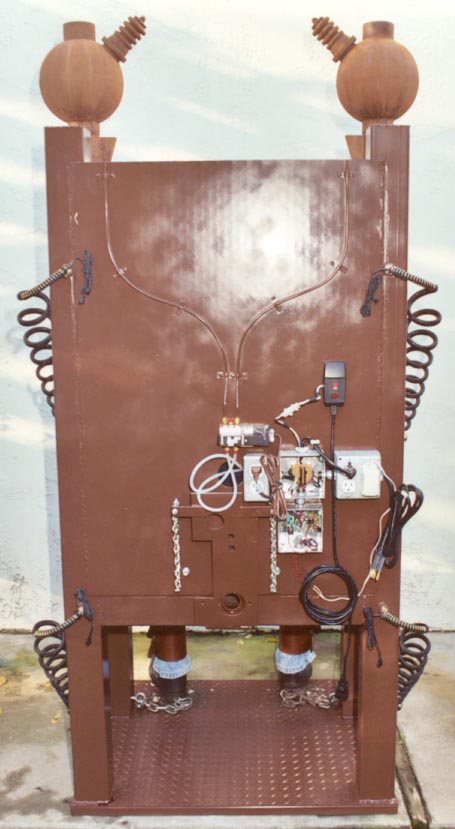
The lower (center) junction box hoses the First Step BASIC stamp microcontroller and the Radio Shack digital voice recorder. The upper junction box (center) holds the solid-state relays. One solid-state relay switches the fogger via the wired remote (black with red toggle switch). The other solid-state relay switches the solenoid valve.

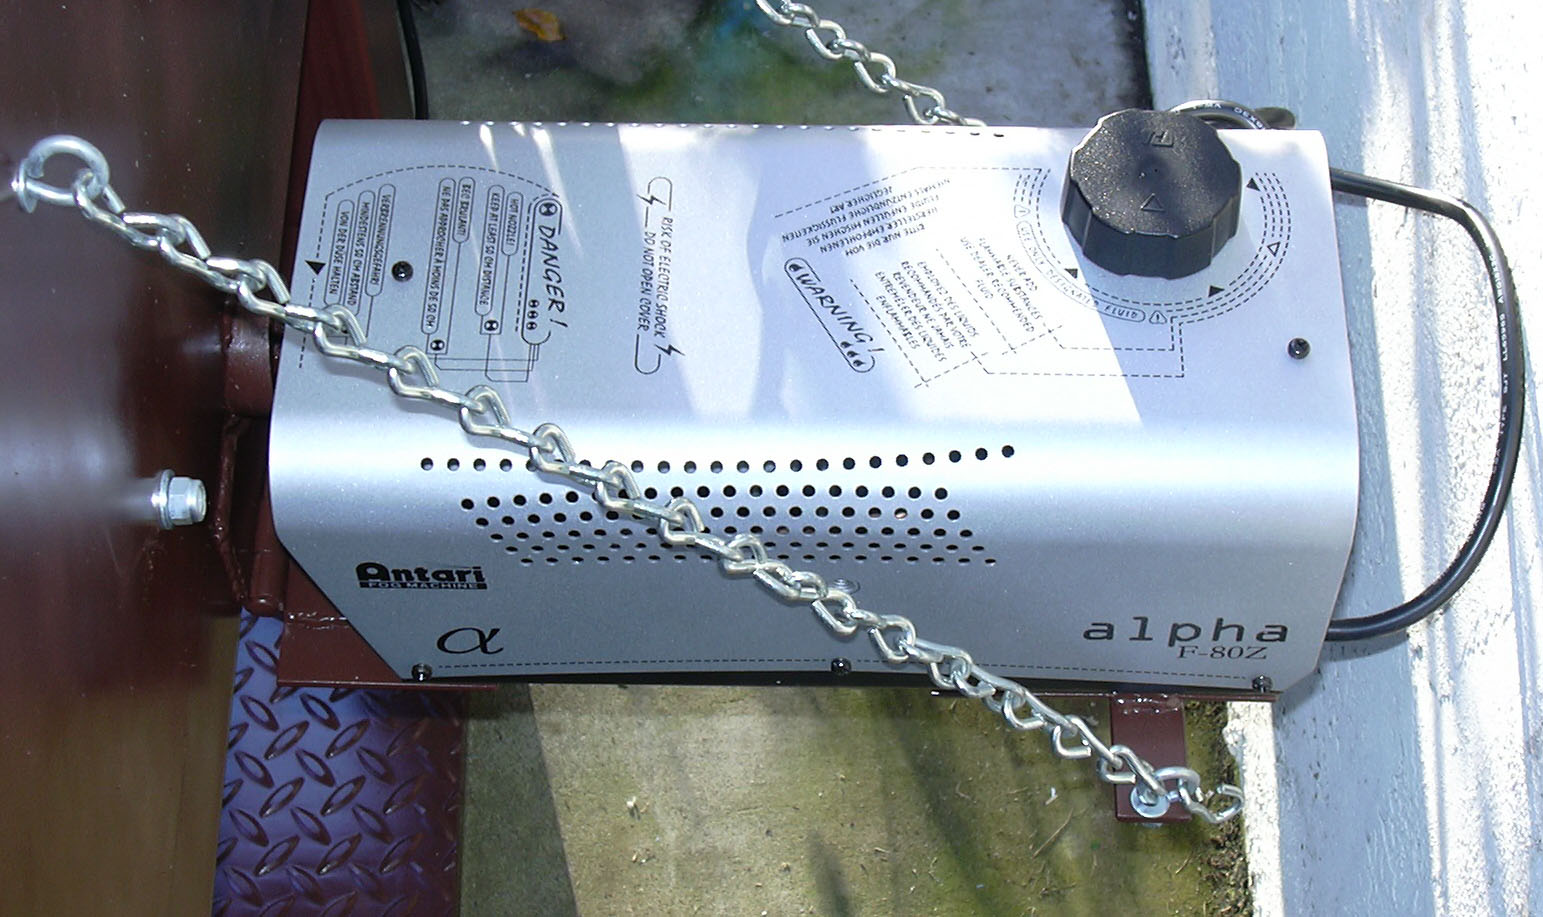
The rectangular plate with the holes in it is the shelf for the fogger. It folds up for storage. This is a picture of the fogger sitting on the shelf,
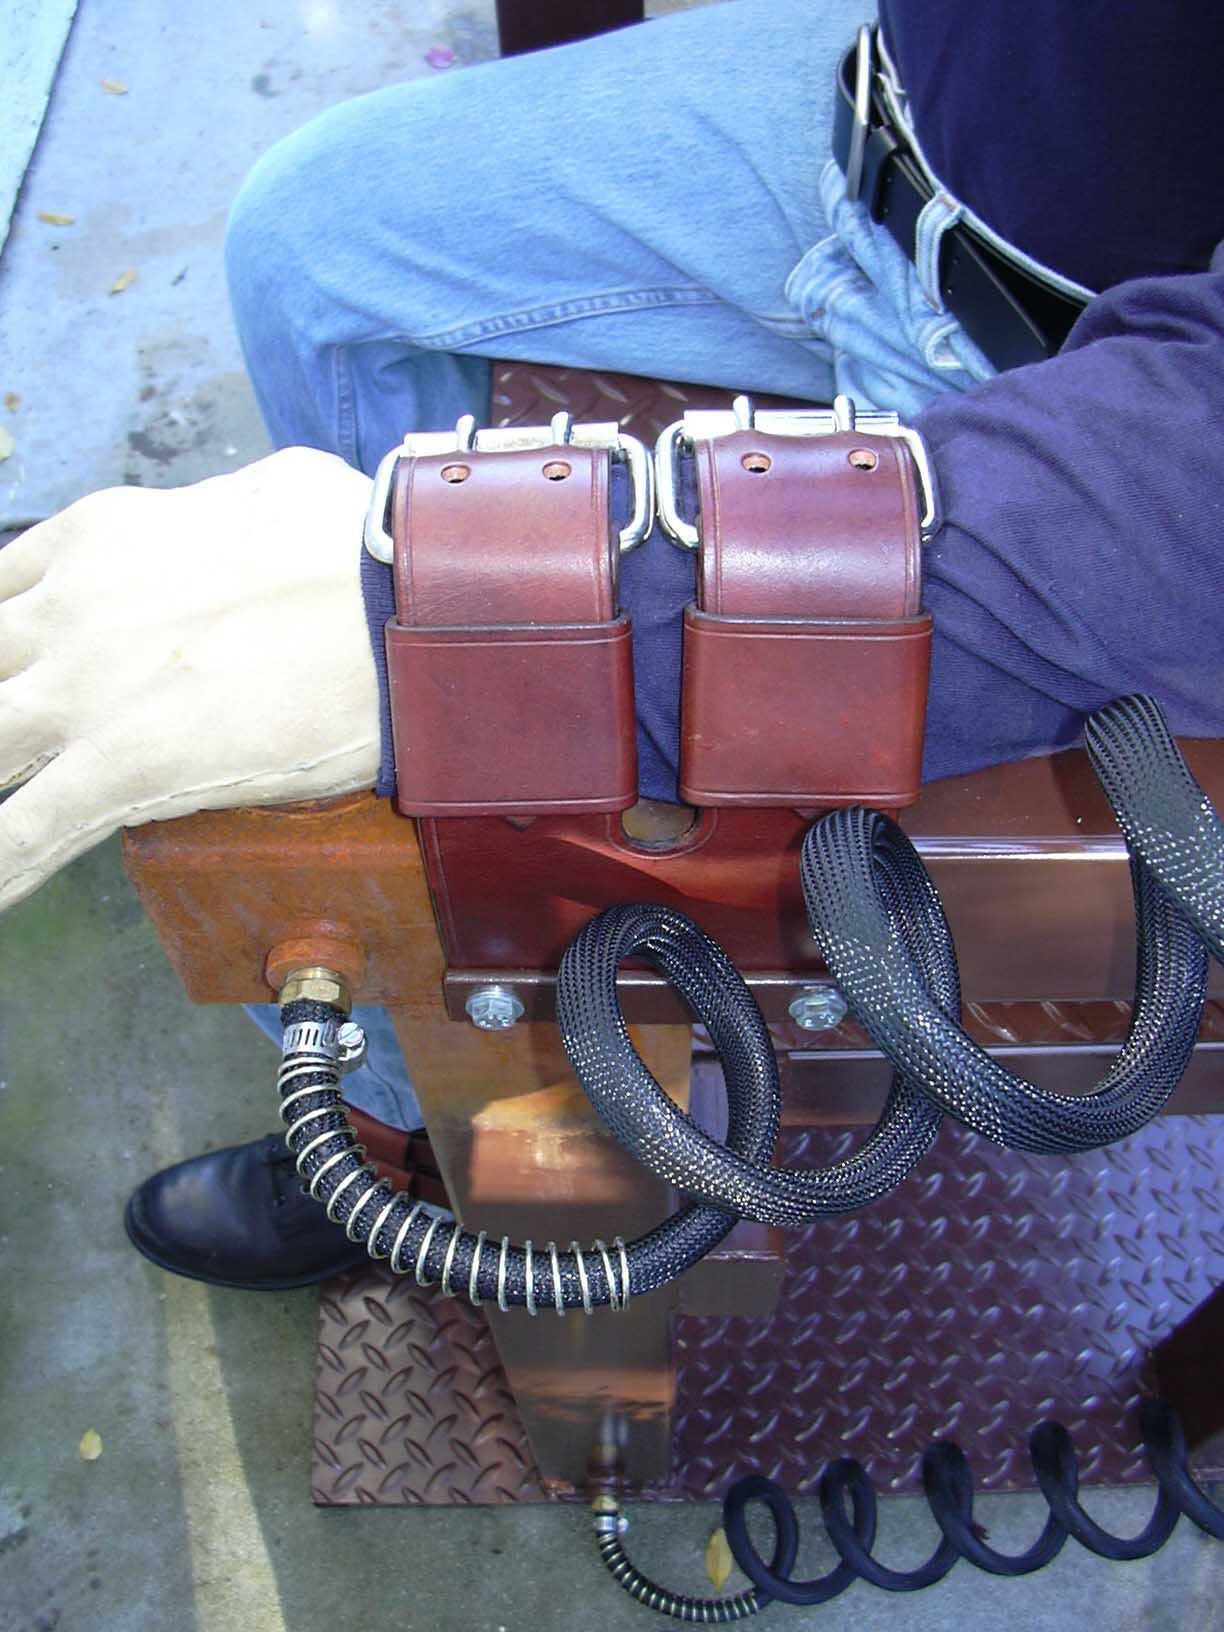
In this picture (the image is a hyperlink), you may be able to see the reddish-orange glow of the coiled wires running to the hands and feet,
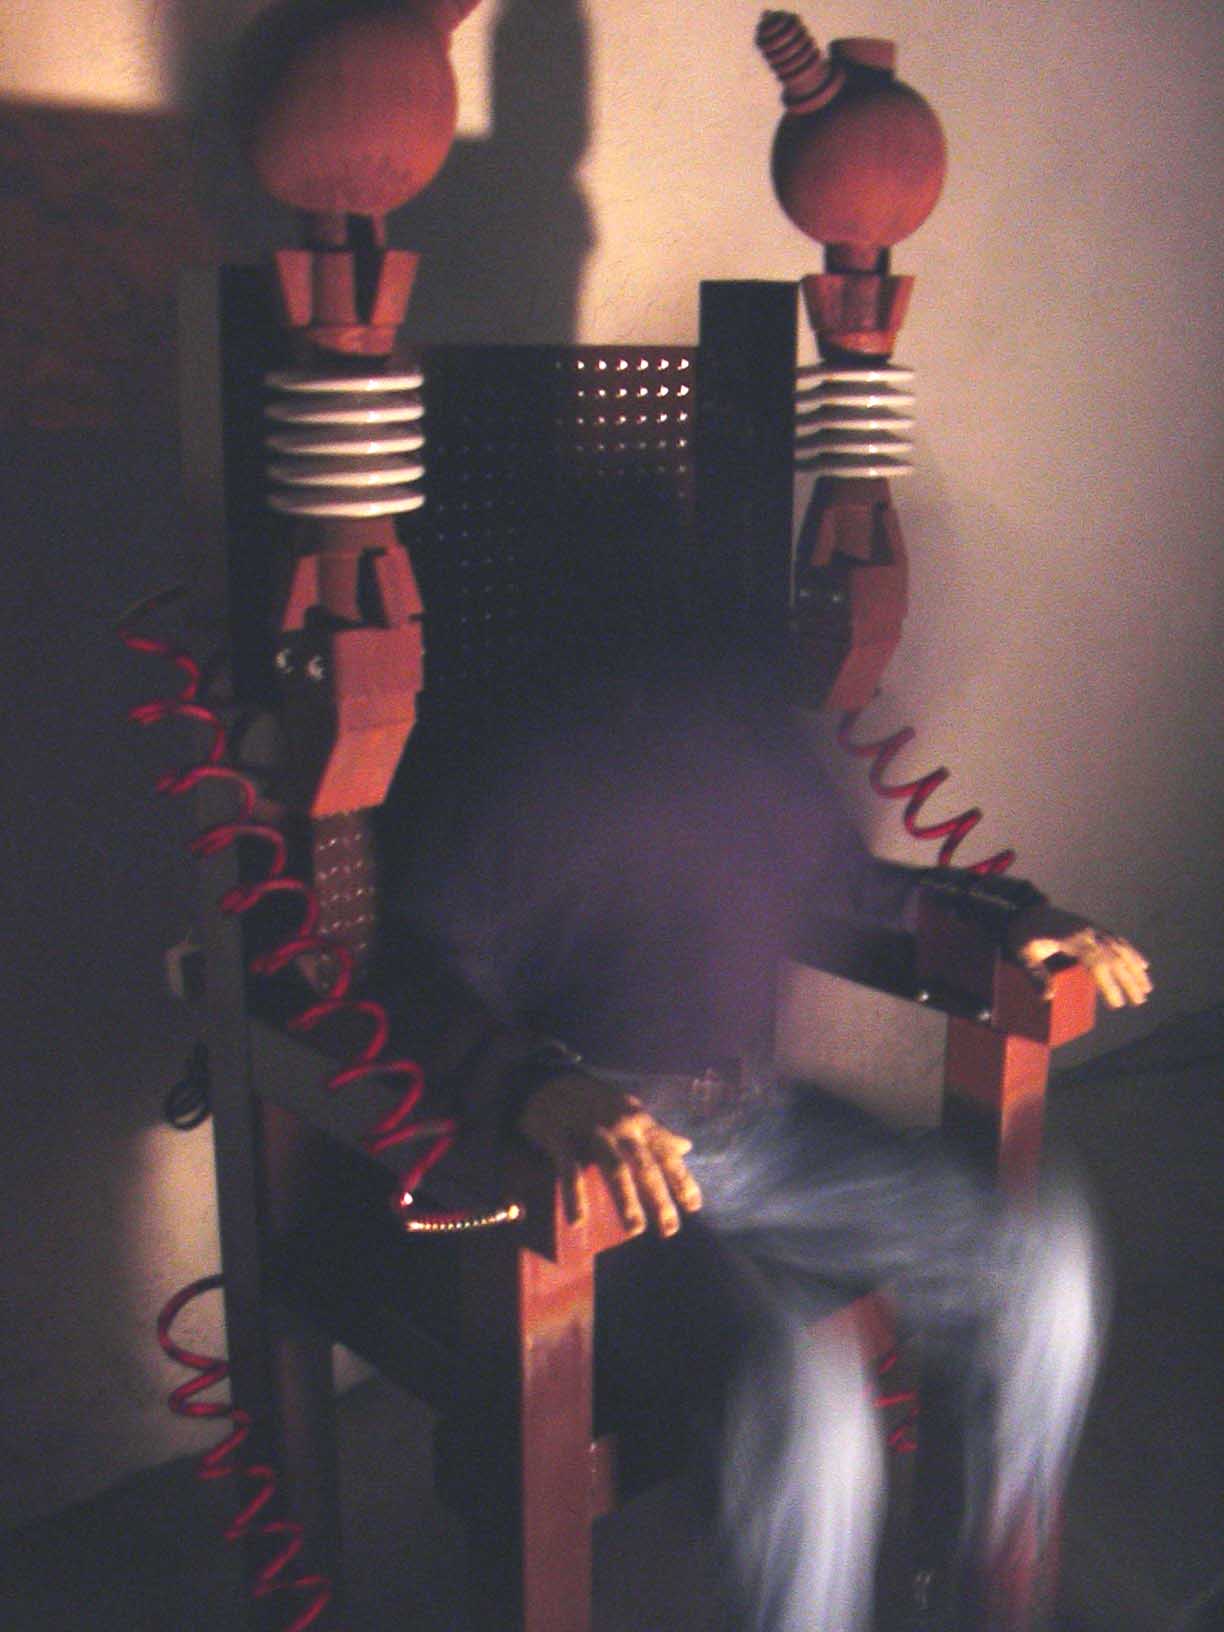
The glowing wires were made from black expandable sleeving, 1/2" polyethylene tubing and El Wire. The El Wire was fed through a length of polyethylene tubing. The polyethylene tubing was softened in boiling wire, coiled around a length of 2" PVC pipe and allowed to cool. The black expandable sleeving was slid over the coiled polyethylene tubing.
